




How To's
/
How to add a banner to a blog post in Shopify?
How to add a banner to a blog post in Shopify?
How to add a promotional banner to a blog post in Shopify with step-by-step guide
3 min read
vevy.ai lets you drop a full-width banner — background image, title, subtitle, and button — into your Shopify blog posts as one of the media & marketing elements. It's the block to reach for when you want a promo to interrupt the reading flow on purpose.
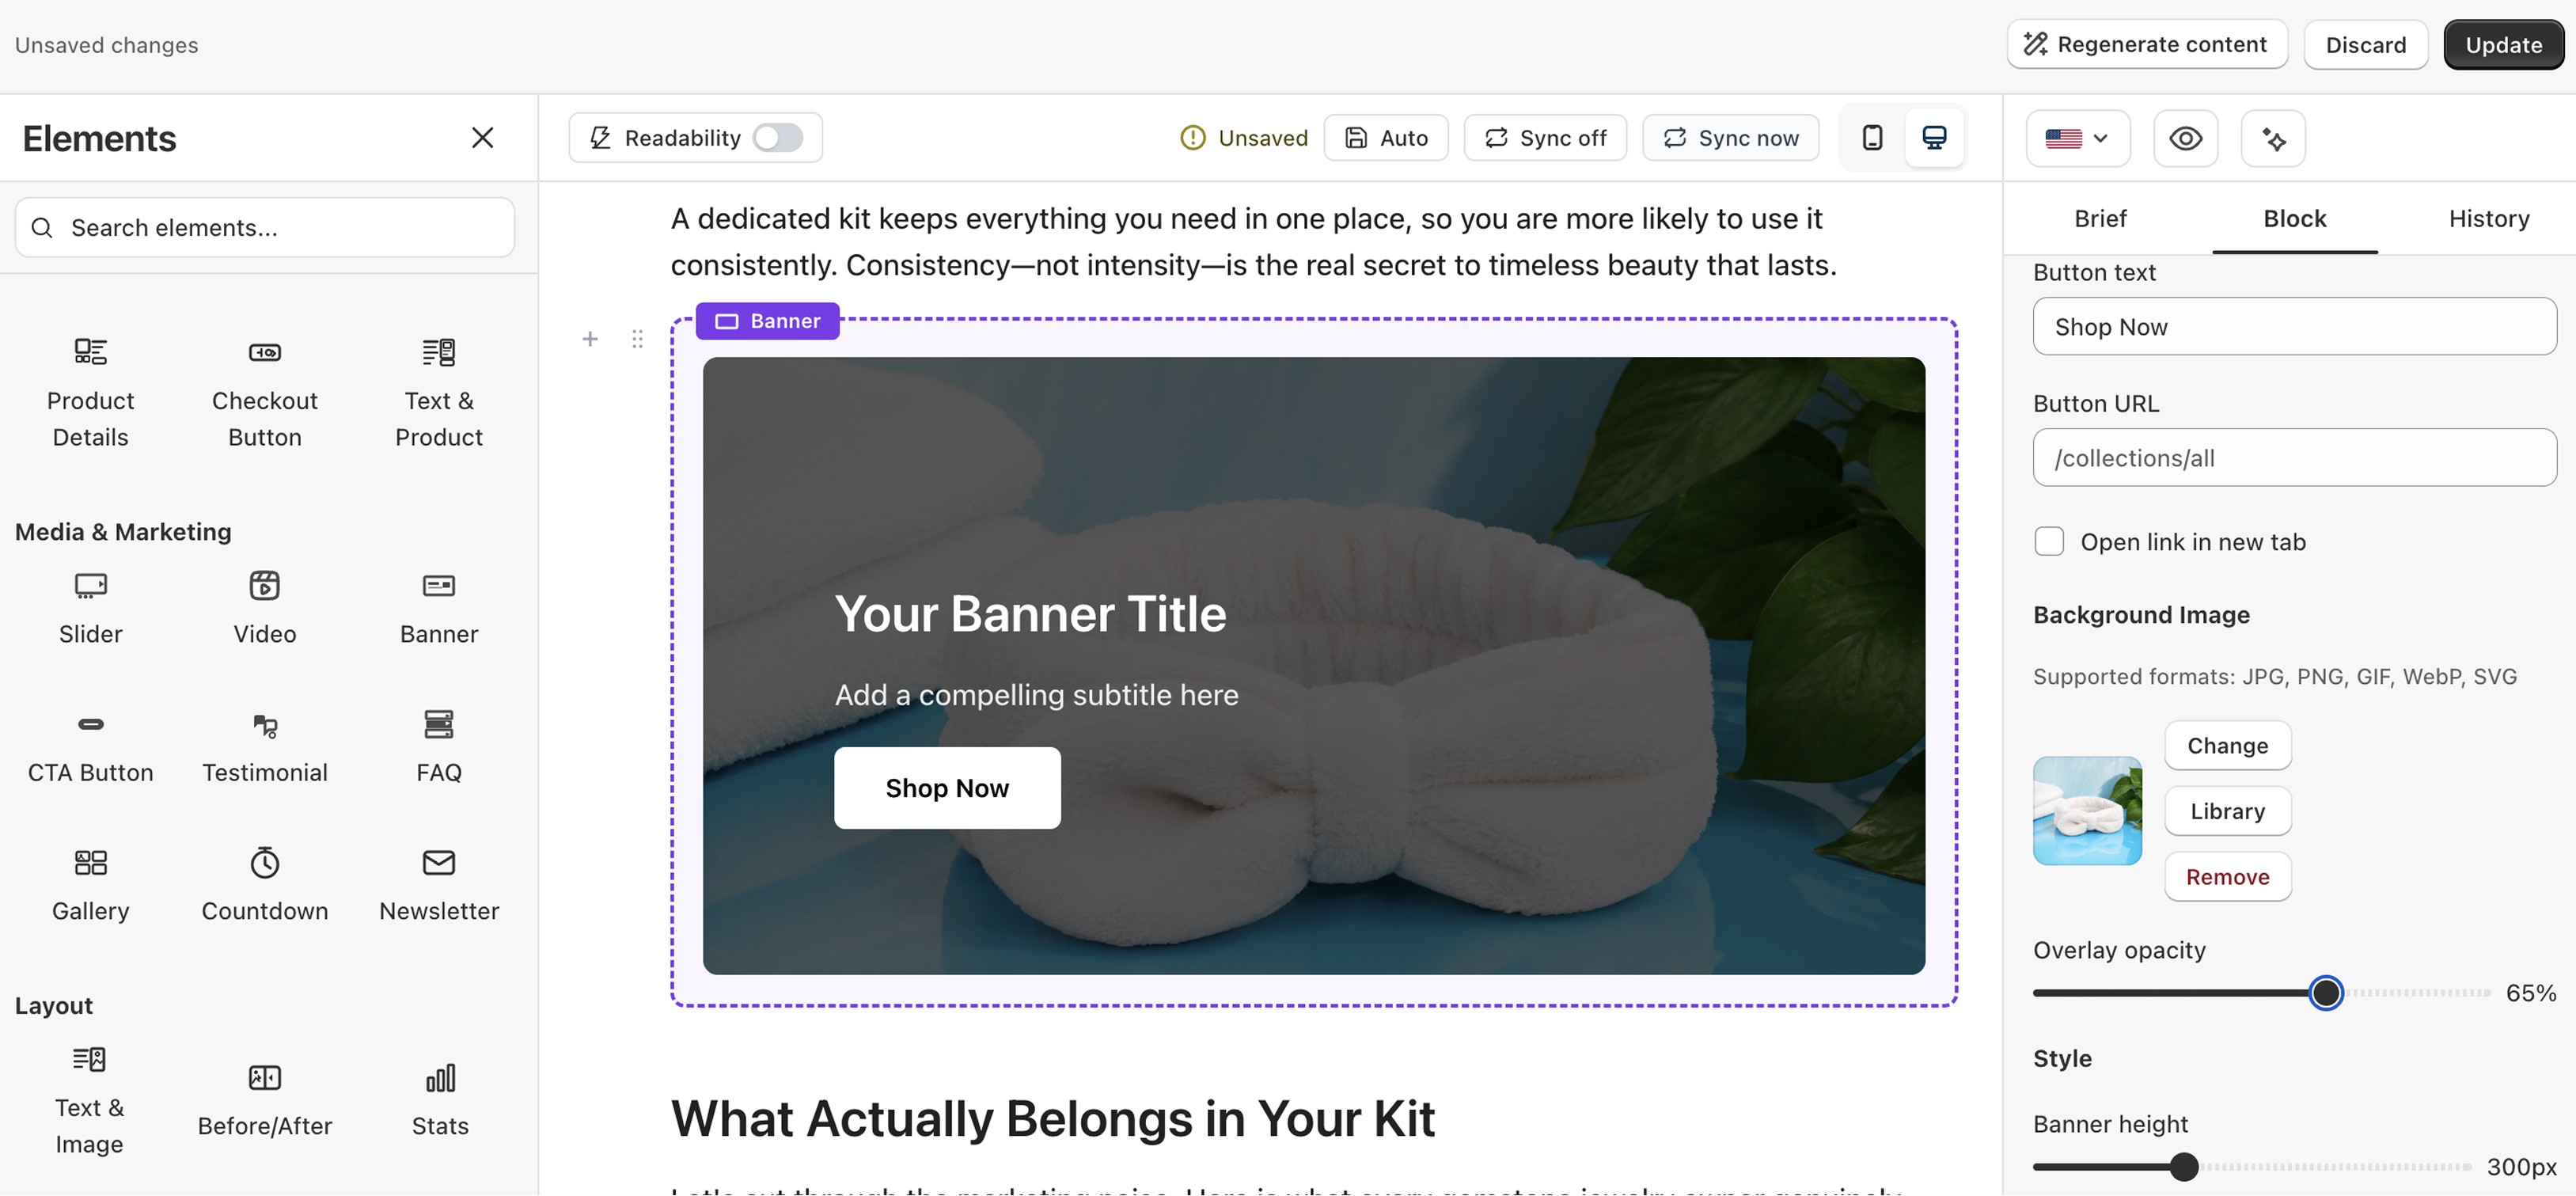
This works for posts made in Shopify's own blog editor too. For this, you just need to sync the post first on the vevy.ai's dashboard.
Syncing blog posts add them to the vevy.ai's dashboard, so you can add banners and other blocks with the Blog Builder, even if the post wasn't created in vevy.ai.
How to add a banner to a blog post in Shopify?
Open your blog post in vevy.ai's Blog Builder.
In the Elements panel on the left, open Media & Marketing and pick Banner.
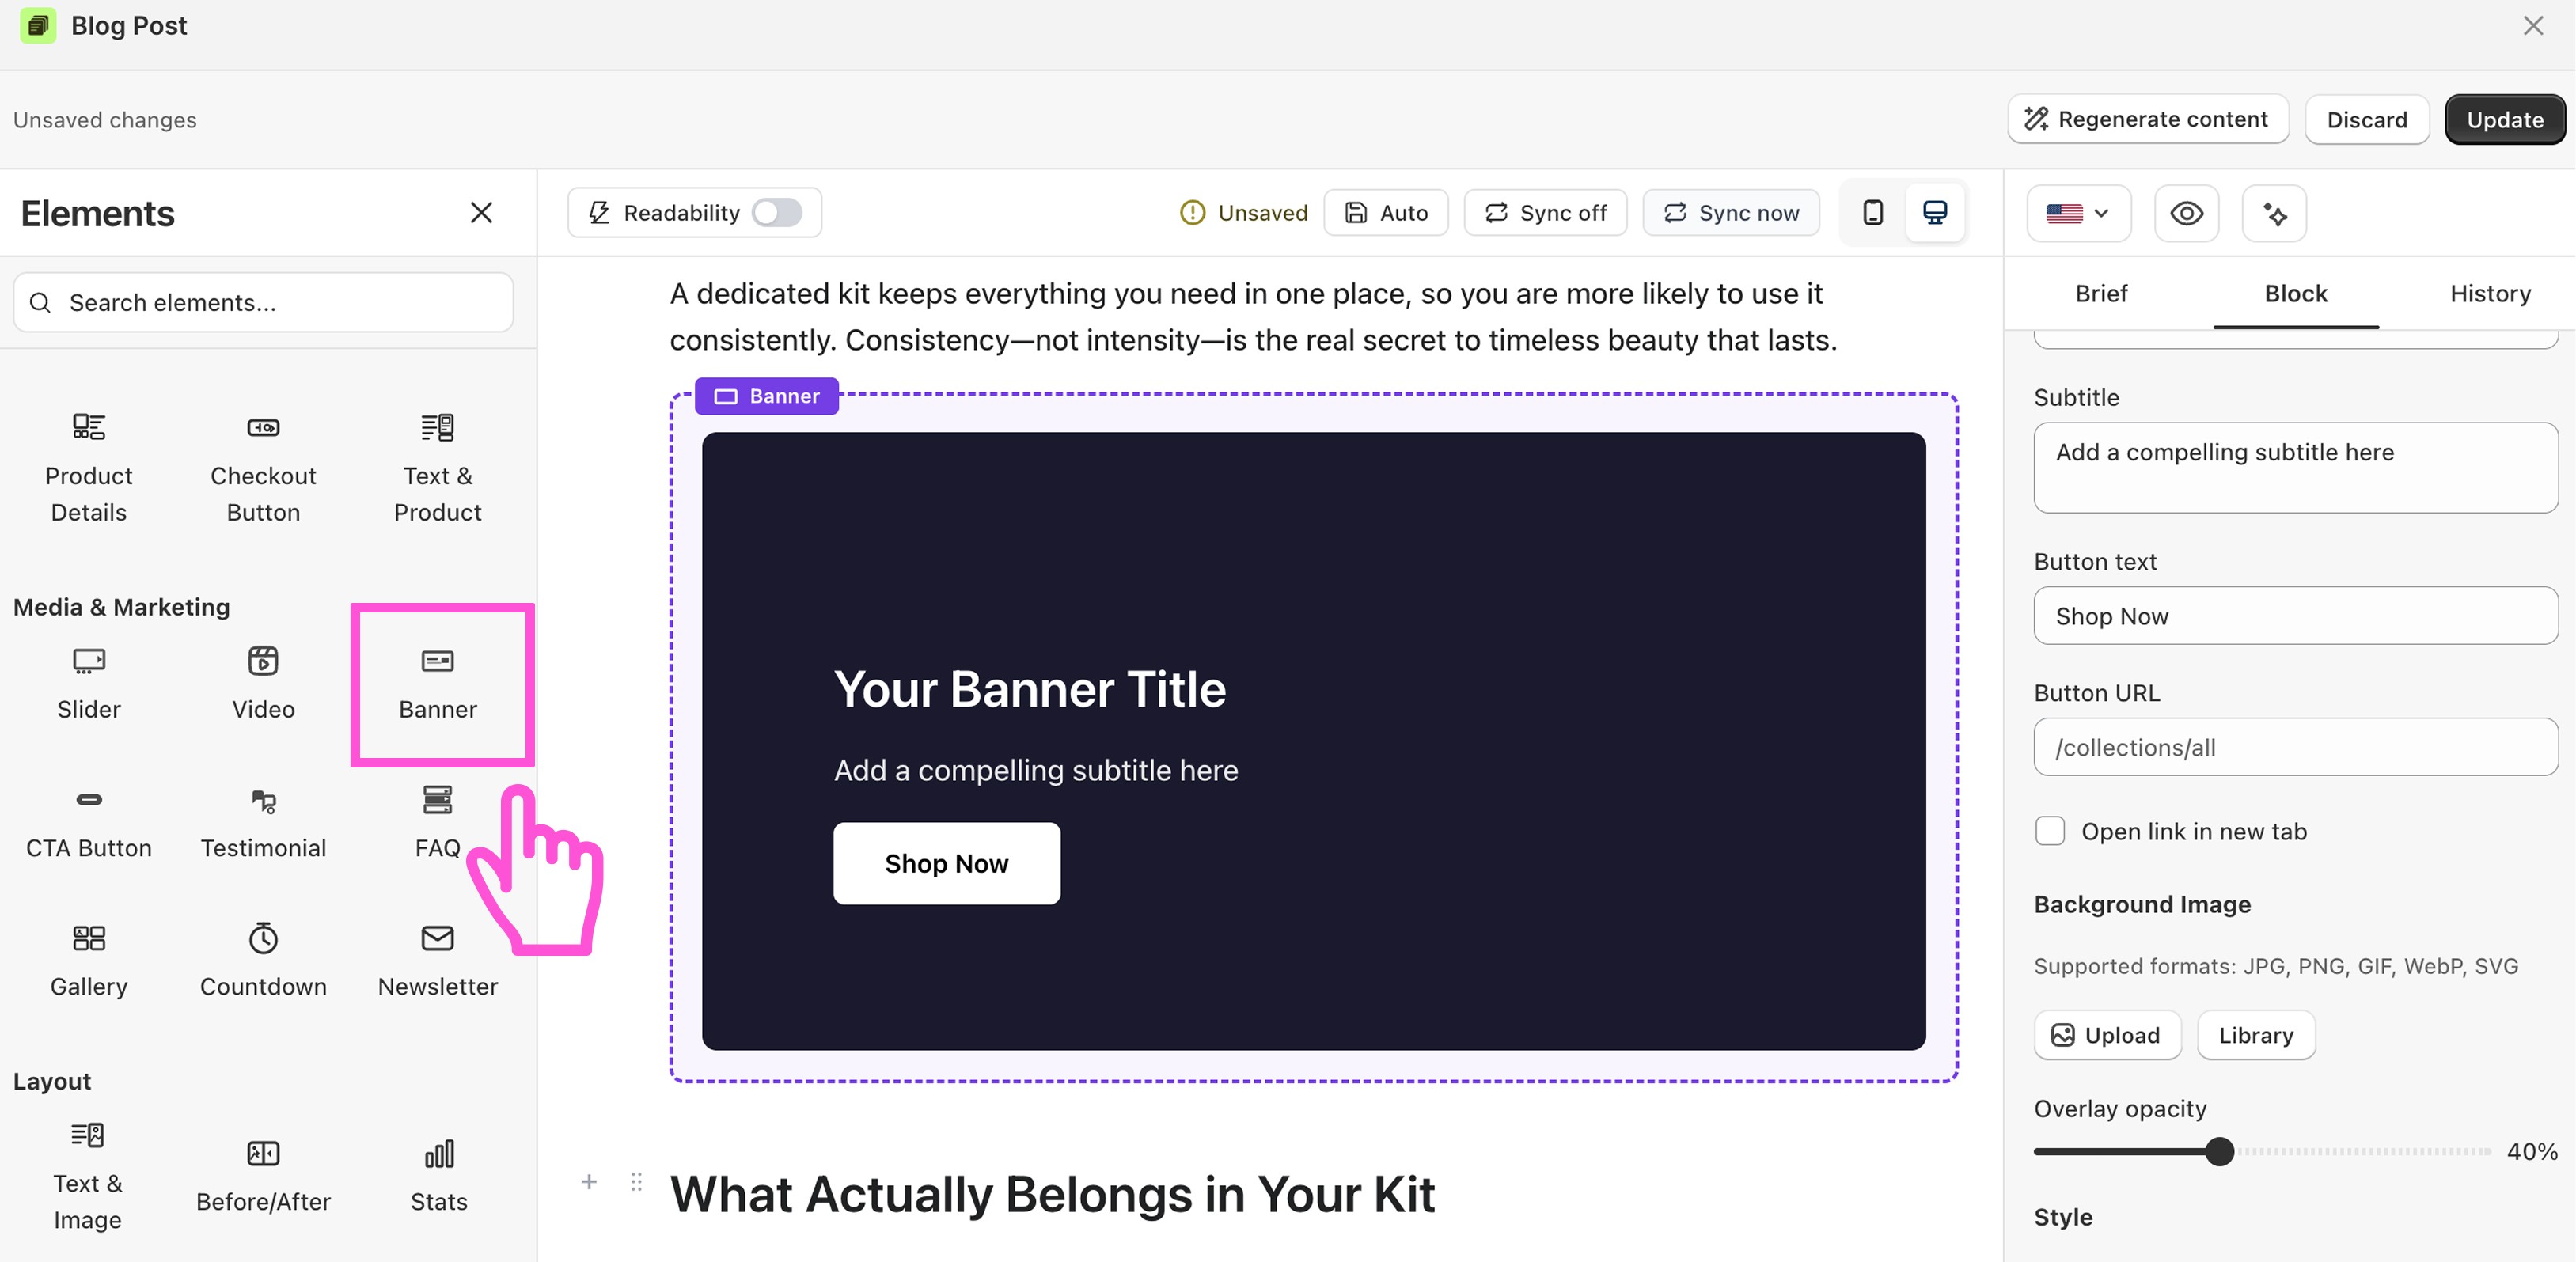
Drag the block into your post, right where you want it.
Click the block to open Banner settings in the Block tab on the right.
Under Content, fill in the Title, Subtitle, Button text, and Button URL (for example,
/collections/all). Tick Open link in new tab if you want it to.Under Background Image, click Upload or pick an image from your Library, then adjust the Overlay opacity so the text stays readable.
Under Style, set the Banner height, Content position, and Background color.
Click Save draft or Publish.
What you can customize
Content — title, subtitle, button text, button URL, and whether the link opens in a new tab
Background image — upload a new one or reuse an image from your library (JPG, PNG, GIF, WebP, SVG)
Overlay opacity — darken the image so the text reads cleanly on top of it
Banner height — from a slim strip to a tall hero
Content position — left, center, or right, top, middle, or bottom
Colors — background color, plus text, button background, and button text colors in the Content Area section