




How To's
/
How to add an image gallery to a blog post in Shopify?
How to add an image gallery to a blog post in Shopify?
How to add an image gallery to a blog post in Shopify with step-by-step guide
3 min read
vevy.ai lets you add an image gallery — a clean grid of photos with an optional lightbox — to your Shopify blog posts as one of the media & marketing elements.
This works for posts made in Shopify's own blog editor too. For this, you just need to sync the post first on the vevy.ai's dashboard.
Syncing blog posts add them to the vevy.ai's dashboard, so you can add galleries and other blocks with the Blog Builder, even if the post wasn't created in vevy.ai.
How to add an image gallery to a blog post in Shopify?
Open your blog post in vevy.ai's Blog Builder.
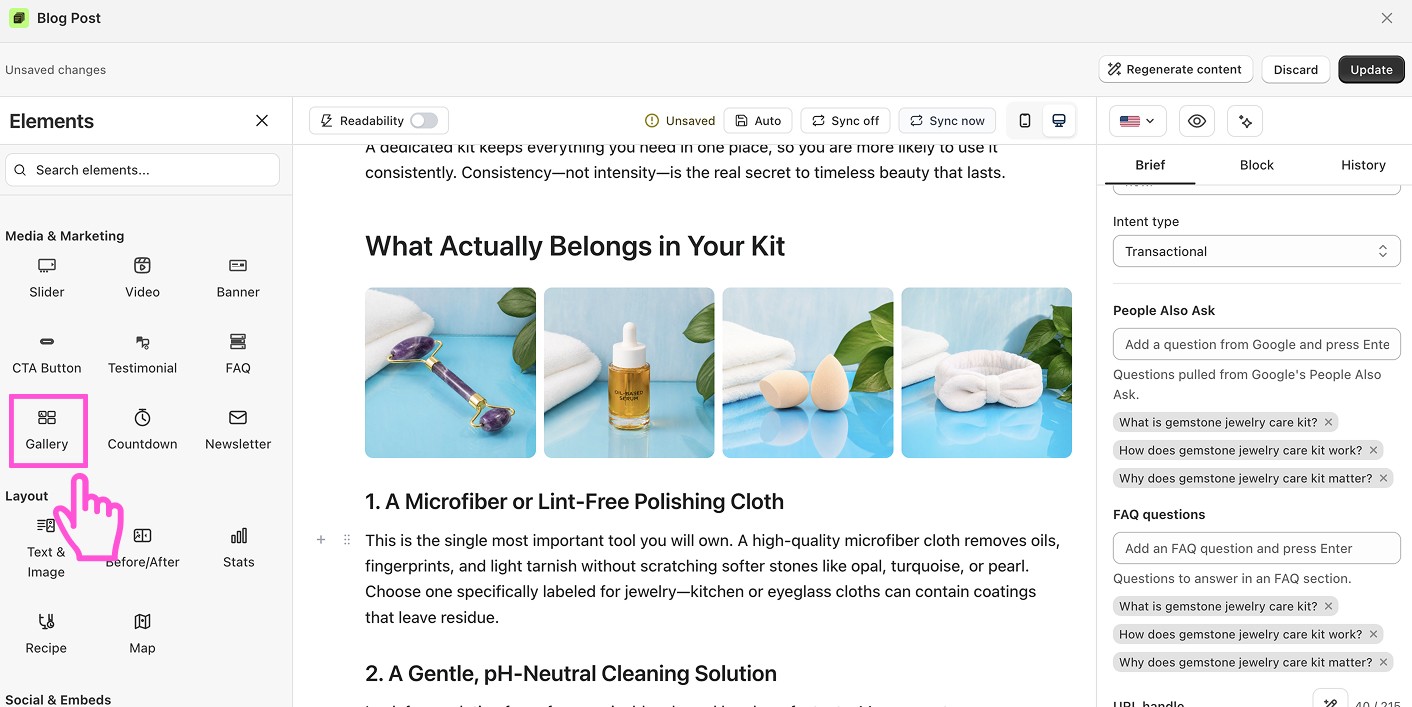
In the Elements panel on the left, open Media & Marketing and pick Gallery.
Drag the block into your post, right where you want it.
Click Click to add images in the block, or open Gallery settings in the Block tab and click Add image.
Upload your images (JPG, PNG, GIF, WebP, SVG) or pick them from your Library.
Under Layout, set the number of Columns, the Gap between images, the Aspect ratio, and the Image fit.
Under Options, turn on Enable lightbox so readers can click an image to see it full size, and Show captions if you want text under each one.
Click Save draft or Publish.
What you can customize
Columns — from 2 up to 4 images per row
Gap — how much space sits between images
Aspect ratio — square, landscape, portrait, or original
Image fit — cover fills the frame and crops; contain shows the whole image
Lightbox — let readers click an image to open it full size
Captions — show a line of text under each image